Mounting an NFS share
Anaconda Enterprise enables you to specify NFS shares that platform users can use to store data and source code, that they can access within sessions and deployments. You can add an NFS share to Anaconda Enterprise by editing the platform’s Config map.
Before you begin:
The NFS share is mounted using the
anacondaservice account on the Anaconda Enterprise server. To mount the share as writable, configure the NFS server so that theanacondauser account (UID 1000, by default) has write permissions.You’ll be editing the Anaconda Enterprise Config map directly, so we recommend you back up the current version of
anaconda-enterprise-anaconda-platform.ymlbefore making changes to it.
To add an NFS volume mount to the Config map:
Log in to Anaconda Enterprise, select the Menu icon
 in the top right corner and click the Administrative Console link displayed at the bottom of the slide out window.
Click Manage Resources.
Log in to the Operations Center using the Administrator credentials configured after installation.
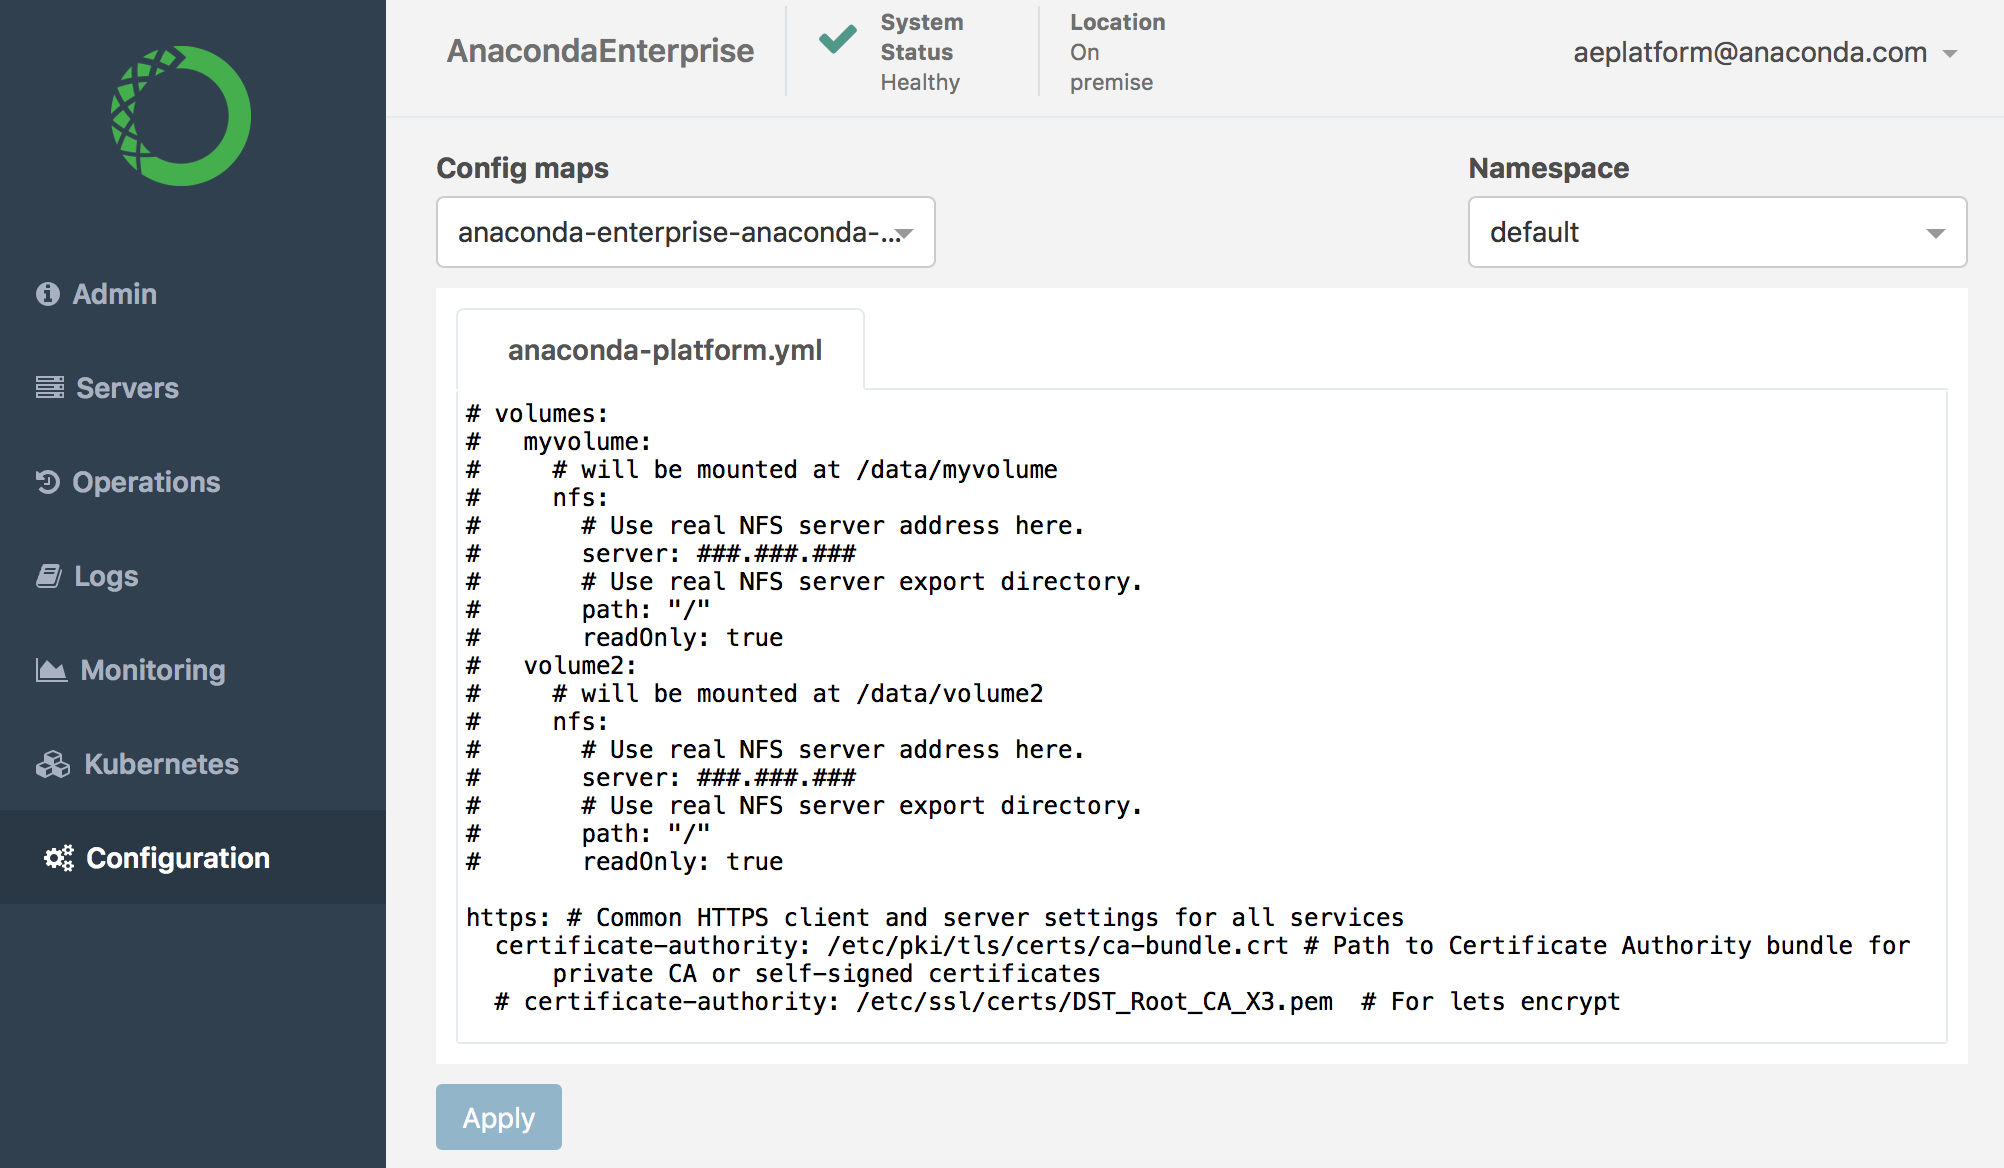
Select Configuration from the menu on the left.
Use the Config map drop-down menu to select the
anaconda-enterprise-anaconda-platform.ymlconfiguration file.
The configuration file’s volumes section provides examples for mounting NFS volumes:
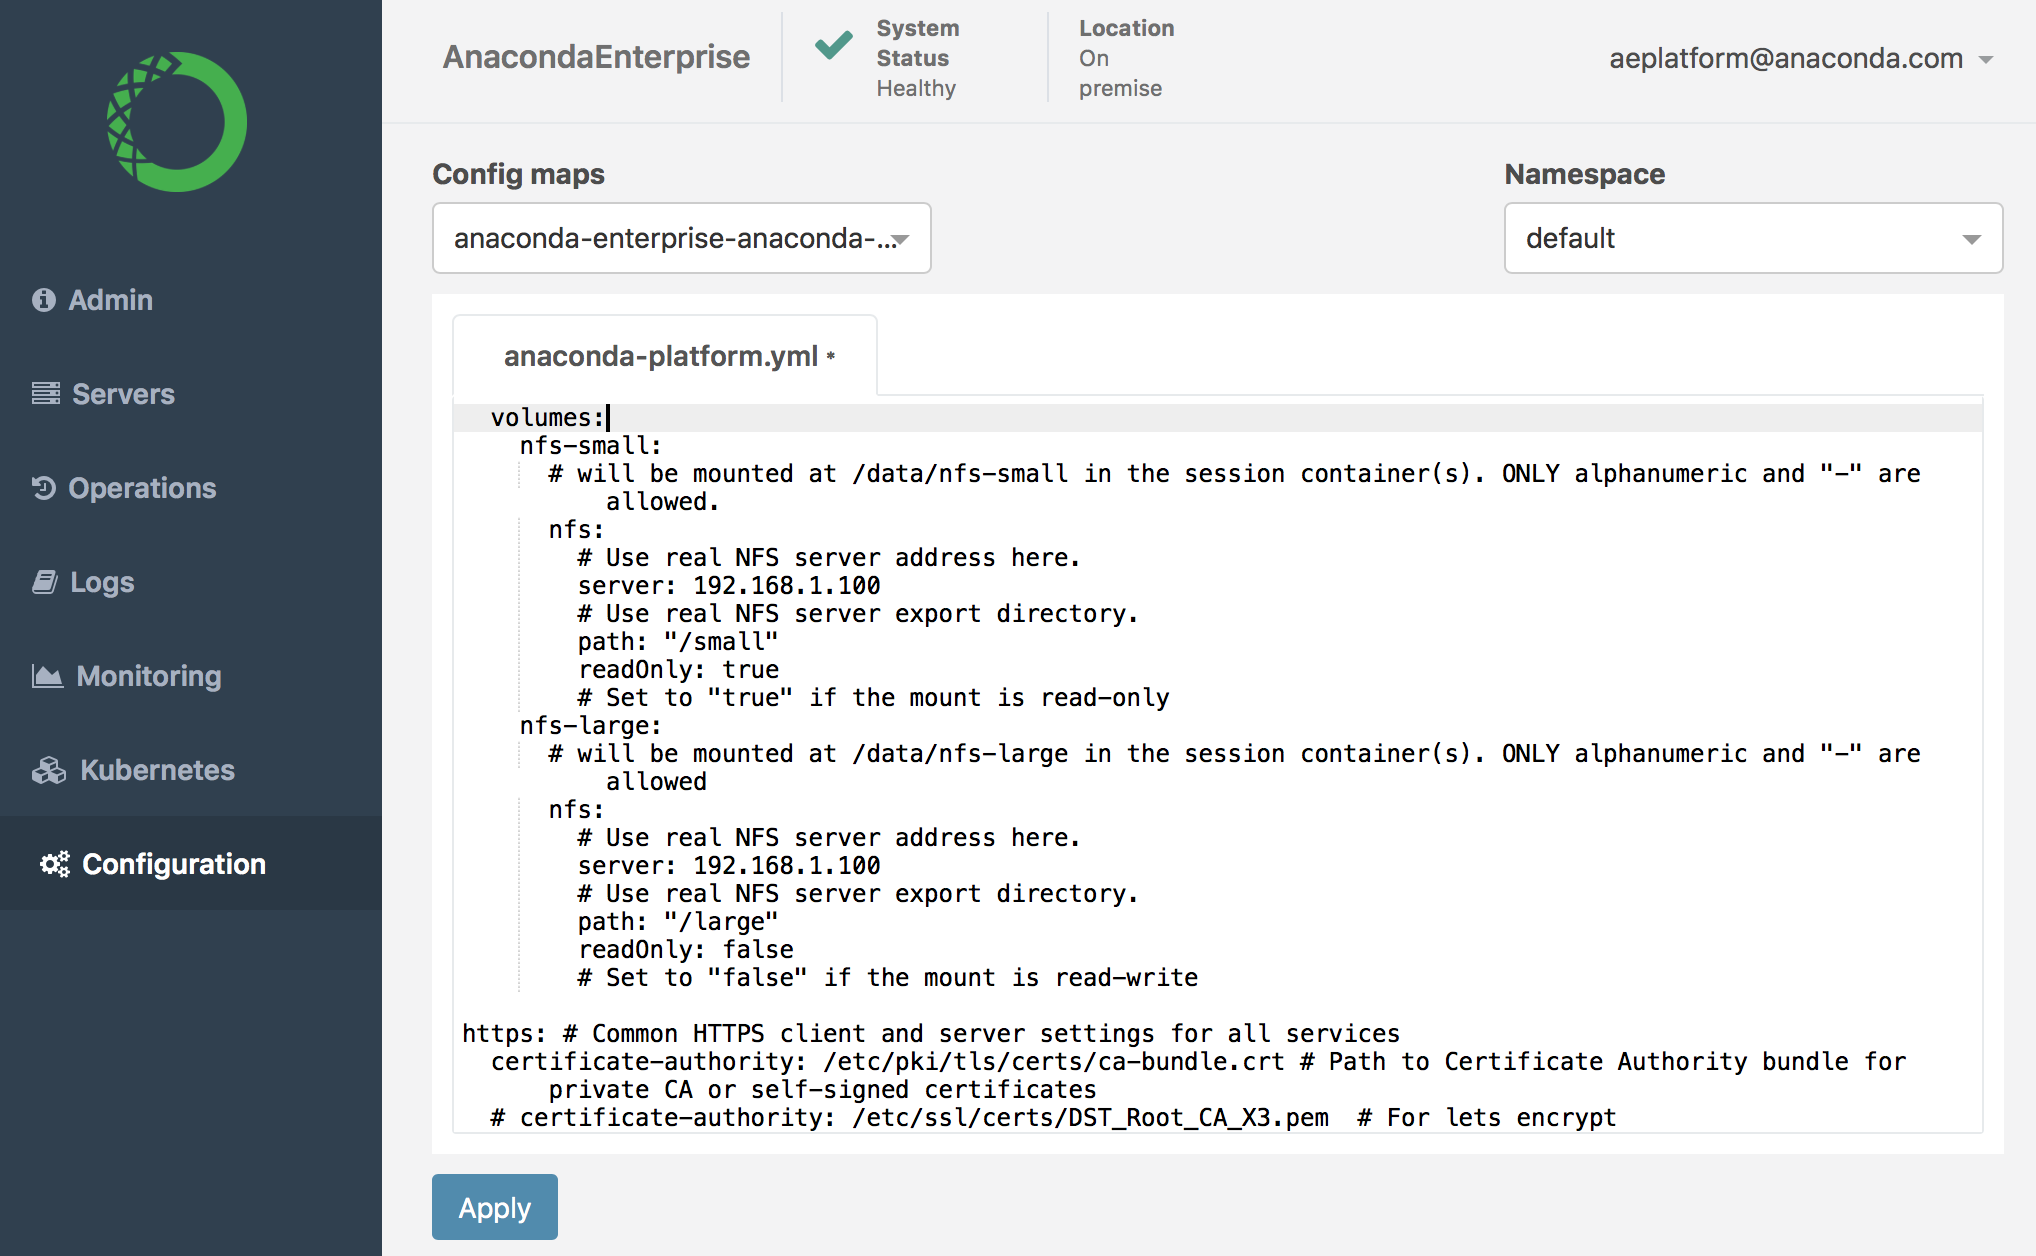
The name of the volume section determines the path where the volume will be mounted. To mount an additional volume, create a second section and give it a unique name. For example, let’s say your NFS server has two mount points configured in /etc/exports as follows:
/small 192.168.1.0/255.255.255.0(rw,sync,no_root_squash)
/large 192.168.1.0/255.255.255.0(rw,sync,no_root_squash)
…and you want to mount them as /data/nfs-small (read-only) and /data/nfs-large (read-write).
Note
Only lowercase alphanumeric characters and - dashes are allowed in volume names.
Uncomment this section of the Config map, and enter the IP address and path to the shared directories on your NFS server as follows:
Click Apply to save your changes to the Config map.
To update the Anaconda Enterprise server with your changes, restart services by running these commands on the master node:
sudo gravity enter
kubectl get pods | grep 'workspace\|deploy' | cut -d' ' -f1 | xargs kubectl delete pods
To verify that Anaconda Enterprise users can access any NFS volumes you add, stop and restart a project editor session and confirm that the volumes are listed as available directories. See Loading data for more information.
Addressing NFS downtime
If an NFS server that you have configured as a volume mount in Anaconda Enterprise goes offline, editor sessions, applications and deployment jobs that use it will not start. If NFS downtime occurs, we recommend disabling the mount until the NFS server resumes proper functioning.
To disable an NFS mount:
Open the Config map and comment out the
volumesection.Restart all services as described above.