Scheduling deployments
If you want to deploy a project on a regular basis, Anaconda Enterprise enables you to schedule the deployment. For example, you can schedule a deployment that’s resource intensive to run after regular business hours, or to import new data on a weekly basis.
Note
A task that’s run via a scheduled deployment can read data previously committed to the project from an editor session, but cannot be used to commit any new data to it. Any data written to a scheduled deployment’s container will be deleted immediately after the scheduled task runs, so we recommend that you ensure data is read from and written to external data sources.
To schedule a deployment:
- Open the project you want to schedule a deployment for by clicking on it in the Projects list.
- Click Schedules in the menu on the left.
- Click Create a Schedule if it’s the first schedule to be created for the project, or the Schedule
 button if there are existing schedules.
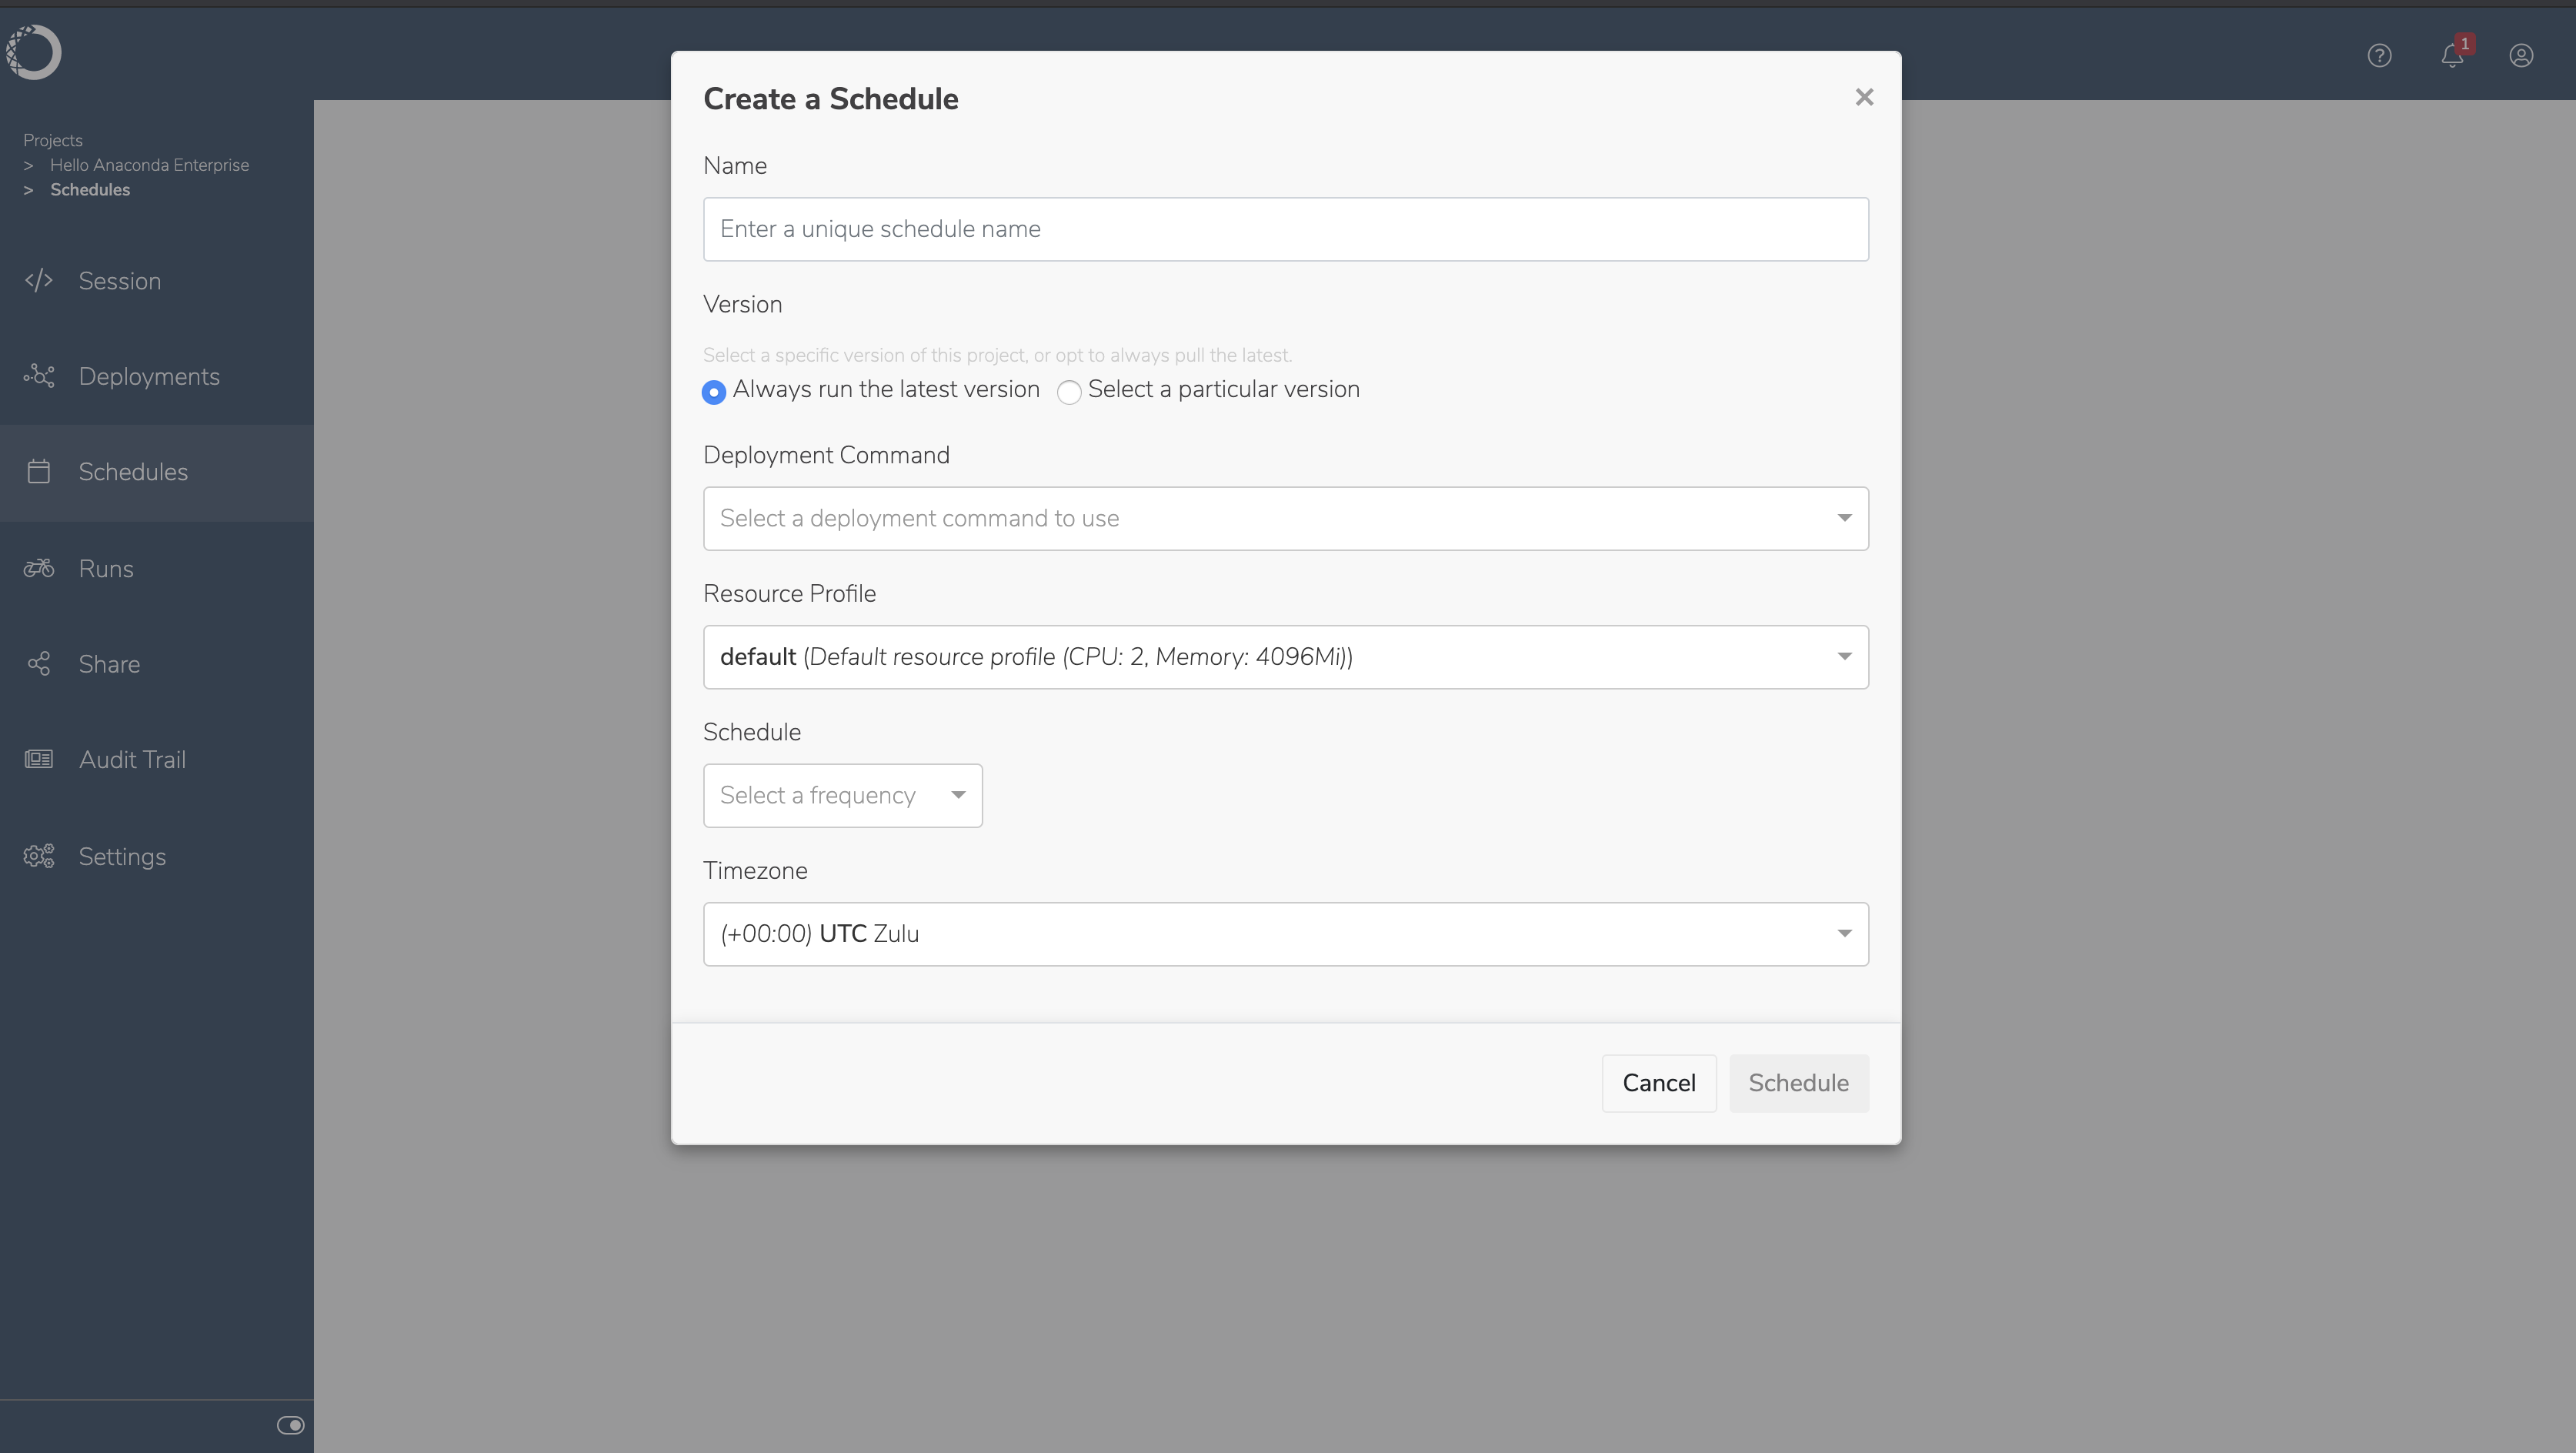
- Give the schedule a meaningful name to help differentiate it from any other schedules.
- Specify whether you want to deploy the latest version of the project, or select a particular version.
- Specify the Deployment Command to use to deploy the project. Schedules are intended for automatic or non-interactive execution of script files or notebooks, therefore only
unix:commands are supported. See an example here.
Note
If there is no deployment command listed, you cannot deploy the project. Return to the project and add a deployment command, or ask the project owner to do so if it’s not your project. See Configuring project settings for more information about adding deployment commands.
- Choose the runtime resources your project requires to run from the Resource Profile drop-down, or accept the default. Your Administrator configures the options in this list, so check with them if you aren’t sure.
- Use the controls to specify how often and when you want to schedule the deployment, or select Custom and enter a valid cron expression. To help ensure your schedule runs when you intend it to, we recommend you verify your cron expression before saving your schedule.
Note
All scheduled times are in UTC (Coordinated Universal Time).
Alternatively, if you want it to run now—instead of scheduling it—select Run Now.
- Click Schedule to create the schedule, and display it in the list of schedules for the project.
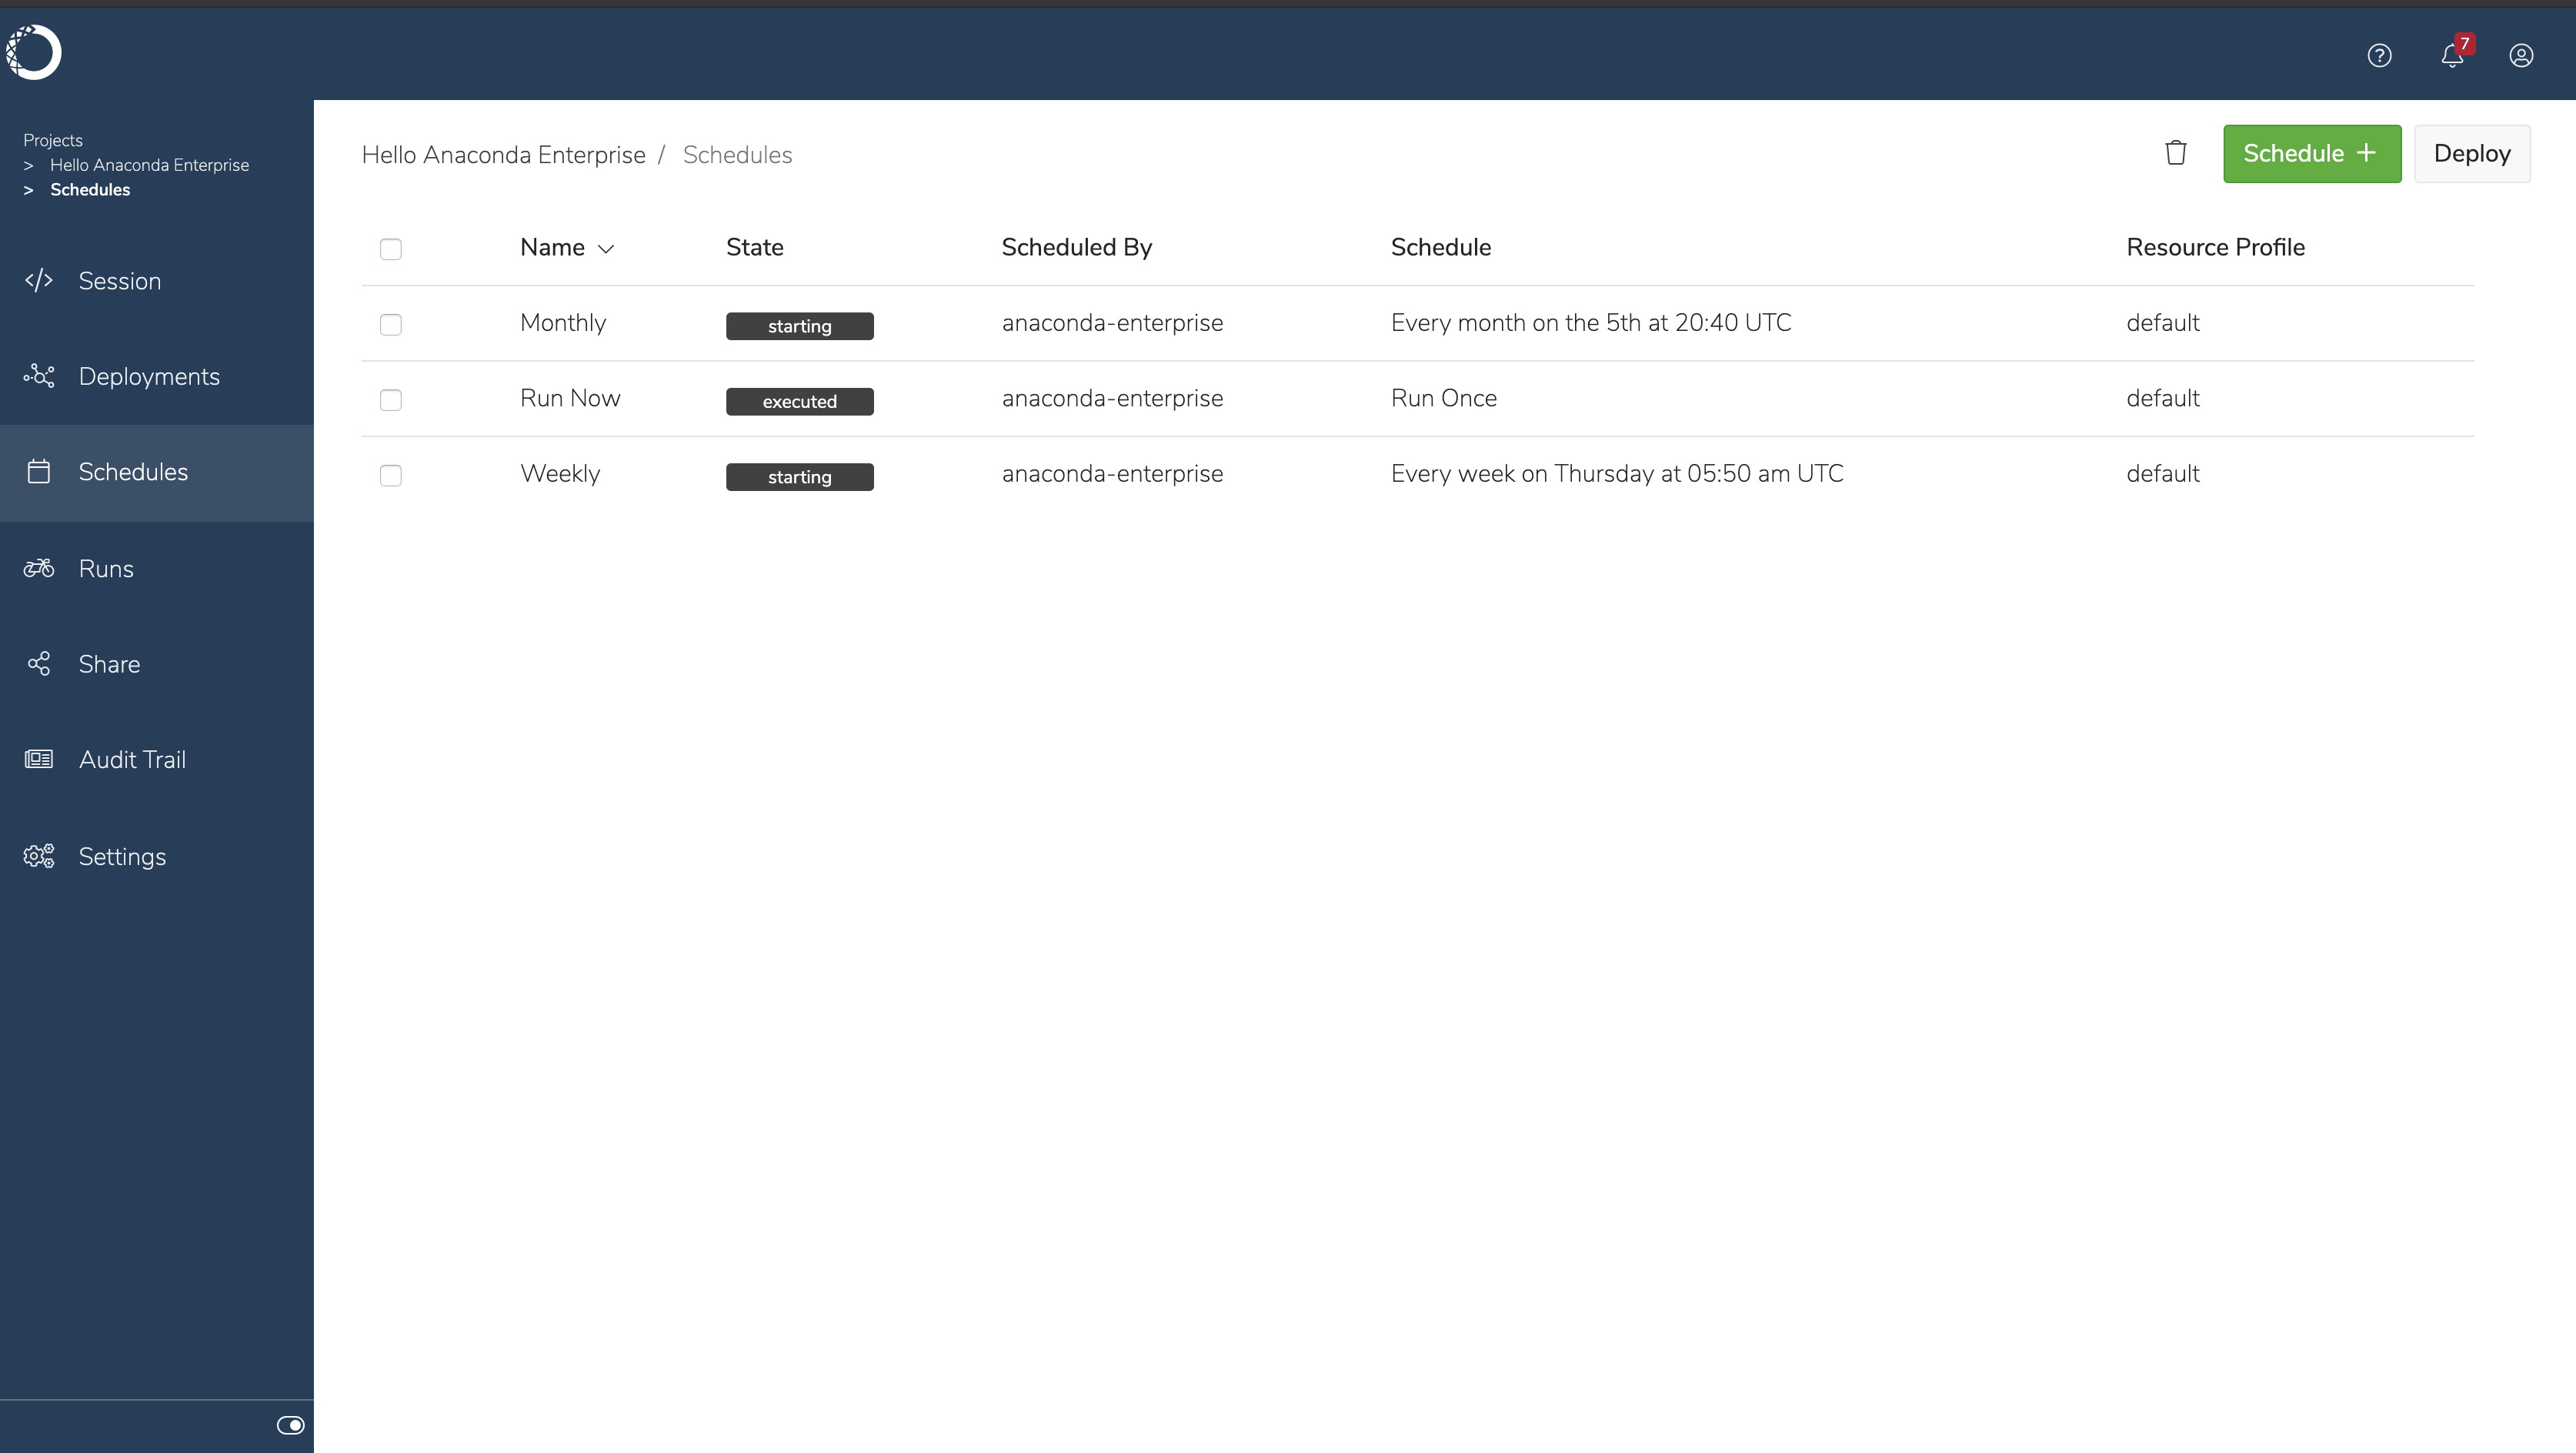
- Click on a schedule in the list to view and edit its details.
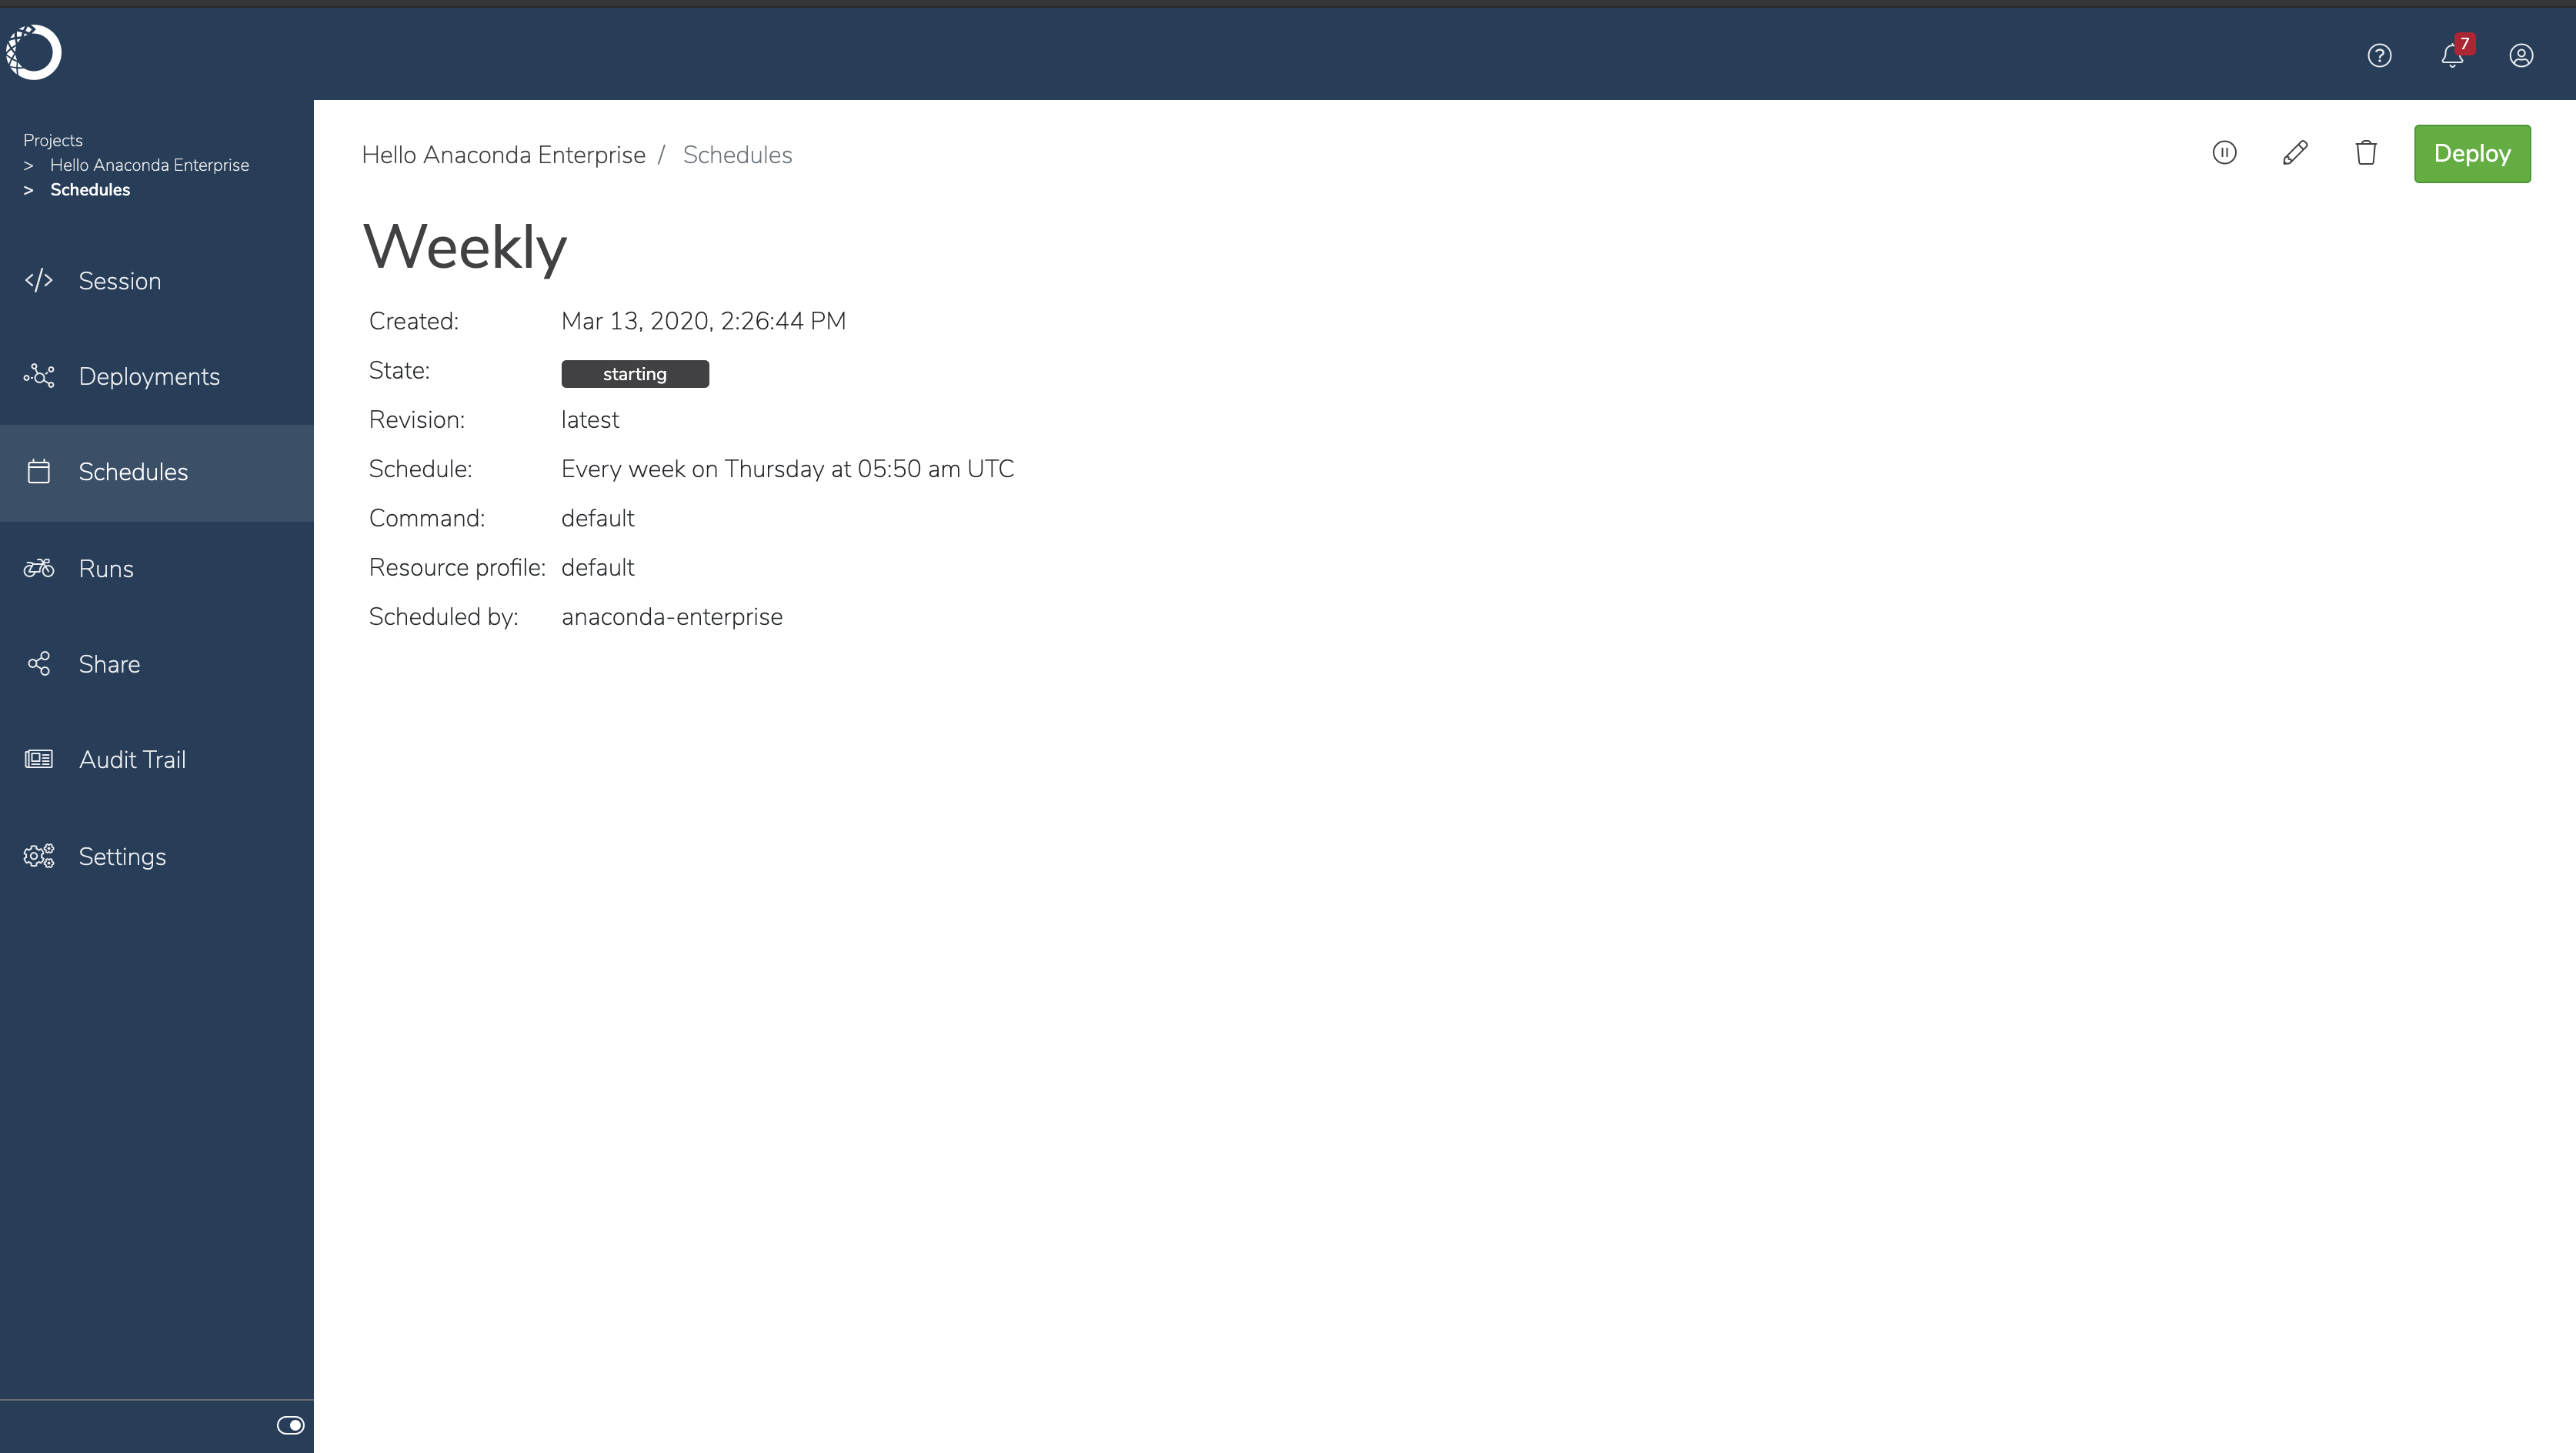
- Use the controls above the schedule to pause, edit, or delete a selected schedule.
Note
If you attempt to delete a schedule that is currently running or is scheduled to run, you will be prompted to confirm that you want to force the deletion.
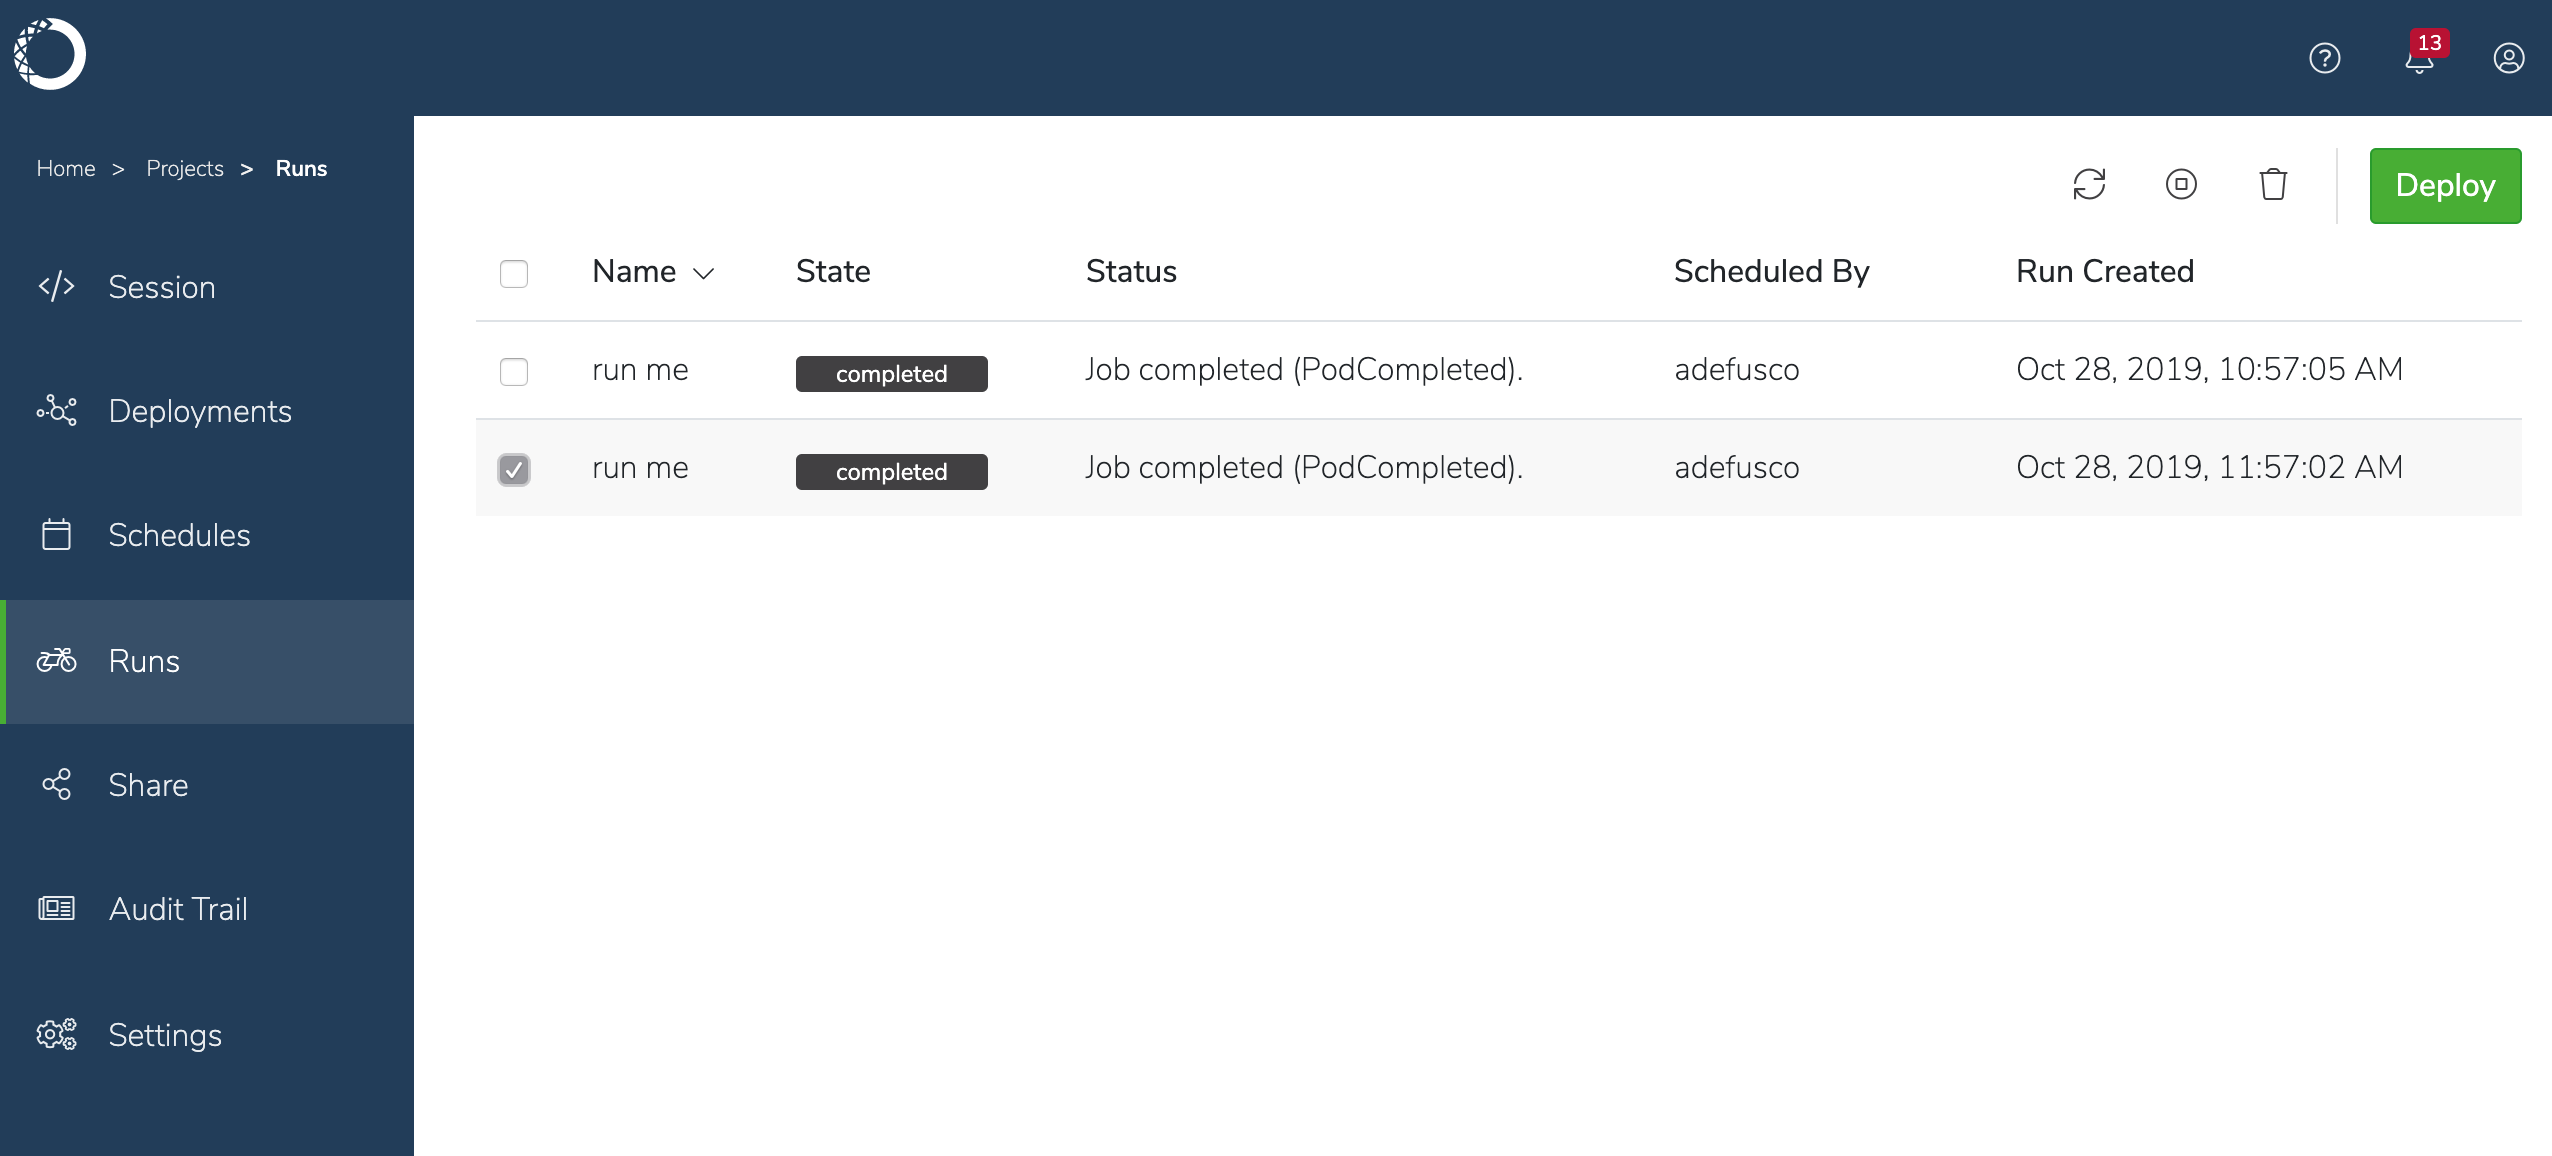
To view a list of all the scheduled deployments that are currently running or have already run, click Runs in the menu on the left.

Select a specific run in the list to enable the controls to refresh, stop or delete it.